In August alone, the FDA issued six recalls on commercially-produced food due to the possibility of contamination. These included chicken, beef, and even salad mix. There have been more recalls since then, including a recent one by Kraft Foods recalling cheese of all things because it might expire before the date on the package.
The more you keep up with the commercial food industry, the more obvious it is that preserving your own food is the way to go if you want to be resilient.
There are a lot of options available when it comes to preserving your own food at home. One option that’s overlooked a lot of times is drying, since some people think it’s only good for making jerky and fruit rolls.
In actuality, drying allows you to preserve a wide range of foods almost indefinitely. When you’re ready to use your dried food, you then simply need to rehydrate it and use it as normal.
How Drying Works
Food goes bad when things like bacteria and mold start growing out of control, breaking down the food to fuel their reproduction. A key component of this process is moisture, and without it the reproductive cycle can’t continue. When you dry your food, you’re removing that vital moisture and ensuring that bacteria and mold can’t start growing and spoil what you’re trying to preserve.
Once dried, your food can typically be stored at room temperature without negative effects so long as it’s kept in a dry location. Placing dried foods in a sealed container or vacuum-sealed storage bag will help ensure that moisture is kept away from your food so that mold and bacteria can’t find a way to grow on it.
Drying in the Sun
The most low-tech way to dry food is to simply dry it in the sun.
There’s no special equipment needed for this, aside from a wire rack or other surface that allows airflow below your food and cheesecloth to keep insects away. Support the rack with bricks or blocks, placing it over concrete or a reflective surface such as aluminum foil to get the best results.
Make sure that the weather is clear, there’s a slight breeze, and the temperature is above 85 degrees Fahrenheit to get the best results when drying outdoors. Avoid high humidity days because rain or humidity above 60% can cause serious problems for your drying efforts.
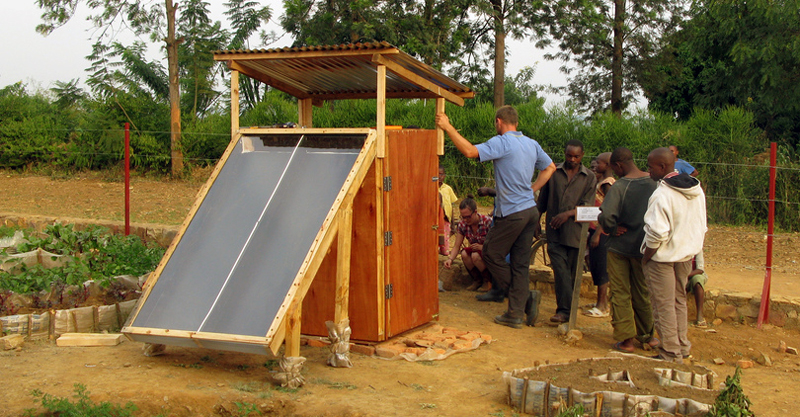
 Example of a larger passive solar dehydrator
Fruits are generally best for sun drying, since their higher acid content helps to fend off bacteria and other sources of spoilage while they dry.
Most herbs and certain vegetables can also be sun dried, though vegetables largely perform better when dried in the oven or a food dehydrator.
Meats shouldn’t be sun dried in most cases, as their high moisture and protein content can result in bacterial growth.
Oven Drying
If you aren’t comfortable drying your food in the sun or the weather isn’t cooperating, you can also dry food in your oven. While oven drying requires a bit more work than sun drying, it has the advantage of giving you greater control over temperature so that your food dries more evenly and the chance of spoilage is greatly decreased. An oven can be used to dry fruits, vegetables, meats, and herbs.
To dry food in the oven, turn the temperature to its lowest setting (between 130 and 145 degrees is ideal, if your oven reaches that range) and place your food on a cookie sheet, a drying rack, or directly on the oven rack itself. Leave the door ajar and set up a small fan to keep the air circulating inside the oven, and take the time to stir and flip your food every 20 to 30 minutes to ensure even drying and prevent burning. Depending on what you’re drying, you may need to continue this for 4 to 10 hours or more.
Commercial Food Dehydrators
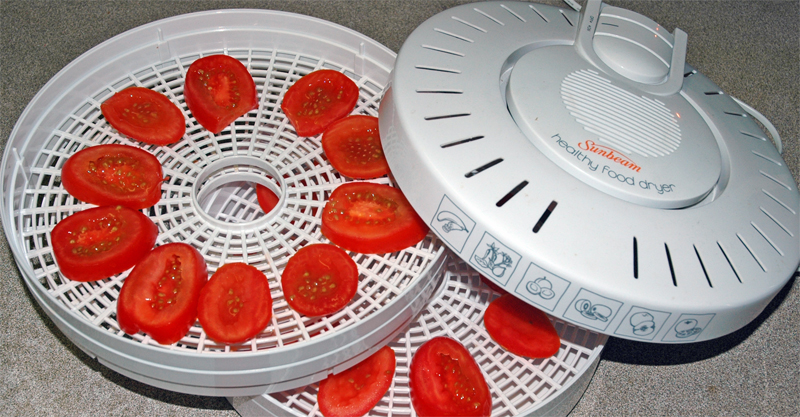
Commercial food dehydrators present a number of options for drying your food that aren’t easy to replicate with other methods. Using a food dehydrator gives you more precise control over the level of drying, drying time, and even air flow than oven or sun drying.
Many modern dehydrators feature “set it and forget it” programmability, meaning that you can simply specify a few settings when you first place your food in the dehydrator and it will do all of the work for you until it reaches a pre-set time or humidity level.
There are two primary types of food dehydrators that you can use. One is the vertical dehydrator, which features a fan on top and cycles heat and air from the bottom of the dehydrator to the top. The other is a horizontal dehydrator, which uses a fan on the side to cycle heat and air.
While both are fairly efficient, vertical dehydrators can cause flavors from foods on lower racks to blend with foods on higher racks, especially if strongly-flavored foods such as onions are being dehydrated. Horizontal dehydrators don’t have this problem as much, though they typically require more space to set up and use.
The most popular (and high end) food dehydrator is the 9-tray Excalibur Food Dehydrator that’s around $230 on Amazon and has a horizontal airflow.
The #1 bestseller right now is the cheaper Nesco Snackmaster Pro Food Dehydrator that’s around $65 and has a vertical fan.
But as mentioned, you can get started with dehydrating your food from the sun or using your oven practically for free, so no need to buy a dehydrator just to try it out.
Knowing how to preserve food has been an essential and life-saving skill throughout human history, so I highly recommend you learn this skill yourself so you can pass it on to the younger generations.


