One of my earliest memories of visiting my grandparents’ farm was playing on the dry stone wall, tossing stones around and just generally fooling around.
Then, looking down, I came across a small seedling sticking out the side of the wall, growing in nothing, with barely any soil between the stones.
Out of childish curiosity more than anything I decided to set it free from the heavy stones and leave it to grow on its own. That was 20 years ago…
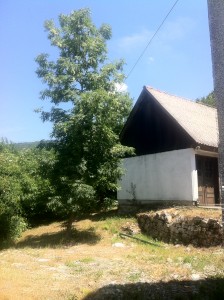 Today, that seedling is this strapping young fellow on the image left – European Ash tree.
He has survived the droughts, heavy snows, pouring rains and sub-zero temperatures all by himself, without anyone taking care of him.
As I sit under his shadow today and plan my food forest I’m curious to find out how trees flourish without human intervention.
How come wild apples, plums and cherries from the nearby forest do so well while the cherry tree I planted in my orchard five years ago has died miserably? To understand this I needed to return to the place where the seed of this Mountain Ash tree came from and revisit my teacher – the forest itself.
Forests are our teachers
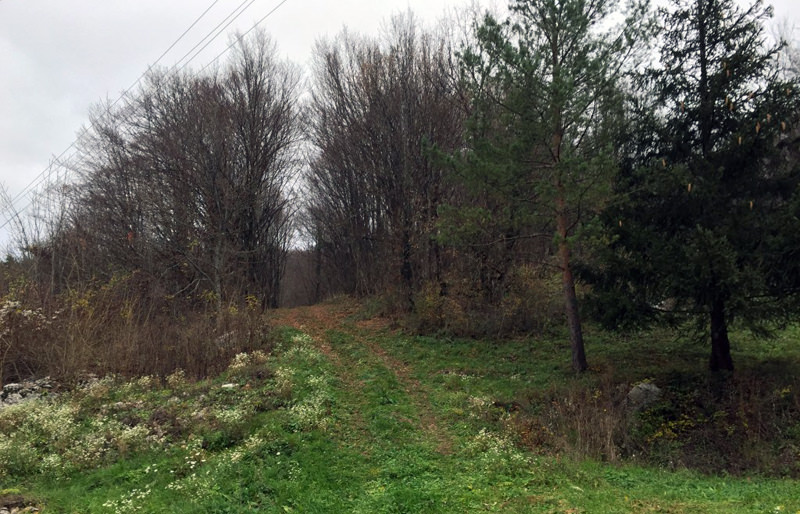
Just by my house, some 50m away is an entrance to a forest. I visit there often, it makes me feel relaxed, I enjoy the serene sounds of nature, the falling leaves, birds and other critters. Most importantly, I go there to observe and learn.
You see, given enough time every ecosystem ends up like a forest. This is the end point of an ecological succession; a point where the ecosystem becomes stable or self-perpetuating as a climax community and, without any major disturbances, the forest will endure indefinitely.
This is exactly what you want your own food forest to be like. To achieve a low maintenance abundance of fruit, nuts, berries and herbs you’ll want to create a forest-like system where fertility comes from various sources, where you’re greatly aided by fungi, where wildlife is your primary pest control, where soil holds water like a sponge, and where you have a high diversity of plants.
You want a carefully designed and maintained ecosystem of useful plants and emulate conditions found in the forest.
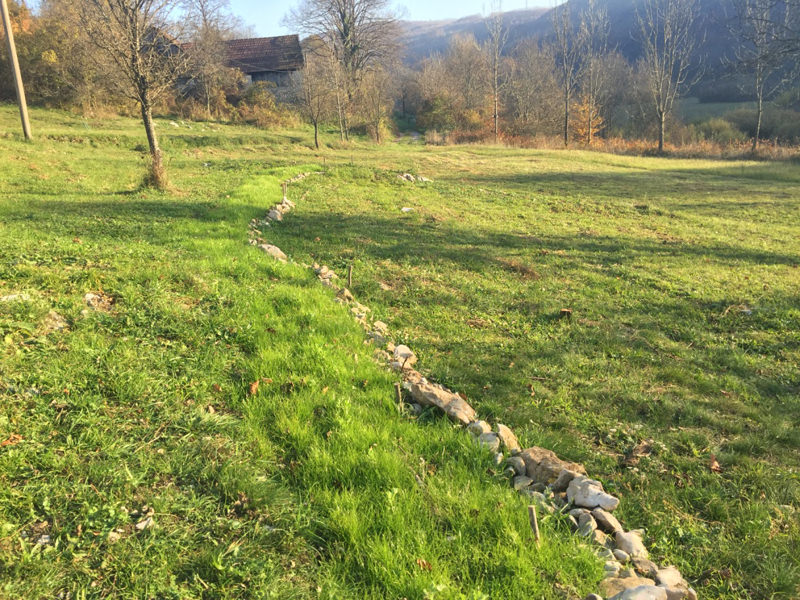
However, the problem is often that you’ll find yourself starting out with a bare field, a blank canvas and the overall plan can feel a little overwhelming. Sometimes even reading books such as Edible Forest Gardens can make things harder rather than easier.
While creating my own food forest, I broke down the plan into smaller, manageable steps. I want to make as few mistakes as possible and to be honest, I don’t have time to make them.
Right, let’s dive in and see how this process can help you go from that bare field to a fully-functioning ecosystem inspired by forests.
Note: I’ll be giving away a free PDF with ‘Five Temperate Climate Guild Examples’(Apple, Walnut, Peach, Medlar and Oak) and a free ‘Site survey checklist’ in the article. Be sure to check them out.
1. What do you want from your food forest?
First you have to be clear about the ultimate goals of your project.
Why is this important?
You see, with a clear goal, everything becomes easier, you know where best to place your efforts and, most importantly, what are the priorities, what to focus on and what to postpone for the time being.
You have to think are you doing this because of: 1. being more self-reliant, 2. making an income, 3. producing healthy food 4. educating others 5. having a fun project for all the family
As you can see, each of these will require different considerations for your precious time and money.
Don’t overdo it at the outset, but just be clear what you want from the beginning.
2. Explore, Sit Quietly and Observe, Analyse
- Explore your local forest so you’ll have an idea what will grow best in your area
Start with taking casual walks in your local forest. When designing a food forest you want to learn from the local ecosystem and try to emulate it. This is why such observations are important, this is how you discover what plants will grow best in our area.
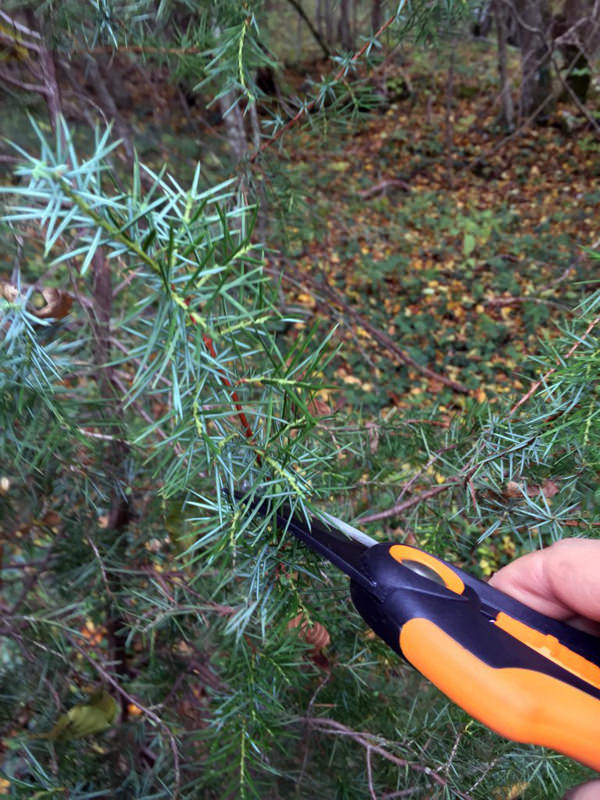
For example, when I walked in my forest I saw elderberries, hazels, hawthorns, lindens, cherries, apples, junipers, and the list goes on. So, guess what I’ll be growing in my food forest? I’ll be also taking seeds from those naturalised species and using them as rootstock for my plants.
- Sit quietly and observe your site
Next, sit at the future site of your food forest, no matter if it’s 5 or 50 min, just sit there quietly. Brew yourself some coffee or tea and just be mindful of what is happening around you. No specific agenda here, just immerse yourself and study the wildlife, feel the breeze, listen to the sounds of the natural world around you. You can learn a great deal simply by sitting quietly.
However, I must admit this comes hard for me. I like to work and there is so much to be done, yet these moments of mindfulness help put things into perspective and reveal a wealth of important information about the site itself.
- Do a site survey and make a basic map
It’s time to put your permaculturist explorers’ hat and take notes about your site. Note everything about the water situation, climate, soil, slope, aspect, wildlife… Do some lab tests on your soil and also experiment with some basic tests yourself. For example, I dug holes throughout my site and then poured water into them just to check how porous my soil is. Simple stuff like that. Help yourself and download my checklist below.
Download my free site survey checklist HERE!
Based on the information you’ve collected, make a rudimentary hand-drawn map or use Google Earth as a base layer and annotate the printout with your notes. From the map it should be visible where the site potentials lay, and what you’ll need to design for.
3. Design – Create a layout and choose the plants

- Choose a general layout – orchard, woodland, savannah
There are four basic layouts that determine the final look of the food forest: In their book, Edible Forest Gardens, Dave Jacke and Eric Toensmeier suggest more options but I’ll round it down to the basics:
- Savanna type systems – alley cropping and silvopastoral system – examples:Mark Shepard/Grant Schultz
- Orchards – woodlands with regularly spaced trees – examples: Permaculture Orchard, David Holmgren
- Mid – to late succession woodland – this is what we are trying to emulate – examples: Robert Hart, Martin Crawford
- Closed canopy forest – end point of a succession – these are mature forests – example: “Your local forest”
Mid- to late succession woodlands offer the opportunity for the most varied, interesting, complex, and productive patterns of trees shrubs and herbs.
However, the woodlands we call orchards and agroforestry systems are better for commercial fruit, nut and herb production.
- Start by outlaying your infrastructure first
Start your design with the scale of permanence in mind and plan your water, access and structures first. Good infrastructure design is essential in order to minimise maintenance, maximize productivity, and provide a habitat for beneficial animals.
This includes fences, patios, sheds, irrigation lines, water tanks, cold frames, greenhouses, water elements. It’s best to begin with these essentials, because they will be the most permanent elements of you food forest.
- Make a list master list of plants you wish to grow
Make a master list of plants – your desired species and others necessary to fulfil a certain purpose in your food forest. Think about ecological functions needed throughout the garden such as food production, the gathering and retention of specific nutrients, beneficial insect nectar plants, and ground cover for weed control.
If there is a desired species that simply won’t work on your site, you can always find an ecological equivalent, an ecologically similar species that fills a similar community niche in comparable habitats. Be sure to also include existing species on your site, if any, and native and naturalised species you found in the forest.
- Create guilds from your master list of plants
This is the very core of forest gardening. You want to create effective polycultures that share the resources and mutually support themselves. But how can you choose the right combination of plants? Here are just a few of the recommendations from Edible Forest Gardens.
You can do your guild build based on what you know or guess about plants, their species niche, and how they interact. In this way you can also create novel plant combinations thorough your experiments.
You can create a random mixture. A lot of people will just select a group of interesting plants and throw them together and see what happens. However, while it is sporadically ok to do so to spice things up, if the whole garden is like this, it will probably result in failure.
You can also try to emulate a habitat and use a model ecosystem as a template for design, incorporating species directly from the model habitat. This model habitat could be your local forest.
If you’re not sure where to start, Download my free PDF with 5 Temperate Climate Guild examples you can recreate in your food forest.
- Do a patch design – define your planting areas and plant spacing
Design your patches one by one, a patch could be a row, a contour or a grouping of plants in one area. In the patch design the most important aspect is to find the planting distance. You can do this by using the ‘crown touching rule’ and placing the individual trees a crown’s diameter apart.
Usually, the biggest mistake people make is overly-dense spacing where tree crowns are interlocking. This is OK when you’re planting a screen or hedge, but otherwise this will put stress on the plants and limit their growth.
In his book, Creating Forest Gardens, Martin Crawford recommends adding 30-50% more distance around each woody plant if you want more sunlight for understory plants. Also, you want to plant wider than ‘crown touching’ distance when soil conditions are limiting, in order to reduce competition between plants for limited resources.
4. Prepare the site
- Adapt your site if necessary
If you’re not starting from scratch with a bare field, the chances are there is something already growing there and you’ll need to adapt your site accordingly. This means clearing unwanted vegetation and leaving whatever you find useful. You can use anyavailable biomass for mulch, compost, wood chips, firewood, mushroom inoculation….
For example, I will be leaving some naturalised plums and using a wood chipper to create some mulch from the trees and branches I don’t need, plus I’ll be using the wood for my hugel beds.
- Shape the earth to your advantage and optimize water retention
After you cleared the vegetation you can start the earthwork for optimizing water retention on your site. This includes digging swales, ponds, berms and dams, ploughing for keyline, anything you can effectively do to slow, sink and spread the available rainfall.
I think one question on everybody’s mind is whether or not to swale it. For assistance, I would encourage you to look at this cheat sheet by Ben Falk if you’re in two minds about doing swales on your site.
- Set up infrastructure and put down irrigation, pathways and fencing
Following the earthworks, begin with the most difficult, important or permanent elements of the food forest.
Start putting down pathways throughout your site because you’ll want to minimise compaction in the areas you’ll be planting. Fencing the site is the next important thing, you don’t want those deer, coyotes, kangaroos, sheep or rabbits nibbling on your seedlings.
If necessary put down irrigation and install water tanks, you simply can’t overdo it when it comes to making sure there is enough water during the months of drought.
- Build up your soil and improve the soil structure
Ideally, food forest soils contain a fungal presence ten times higher than that of bacteria. So you should aim to recreate those conditions.
In the beginning, you’ll be probably starting out from a bare field and you want to continually nudge your soil towards fungi domination. You can do this by inoculating the soil with fungi or cover cropping with green manure crops – Michael from the Holistic Orchard recommends red or crimson clover in preference as these two nitrogen-fixing legumes have a stronger affinity for mycorrhizal fungi. Finally, you want to spread woody mulch everywhere to feed the fungi in the soil.
For more info about improving the soil in your food forest read my Definitive Guide to Building Deep Rich Soils by Imitating Nature.
5. Source the plants and start planting
- Start a nursery or buy plants – your choice
Now, when all the preparation work is complete you can start planting. You basically have two options depending on the budget: grow your own trees or acquire young ones.
If you’re on a tight budget I would suggest growing most of your trees yourself. You can read my post on ‘How to set up a Small Permaculture Nursery and Grow 1000s of Trees by yourself’ and start your nursery today.
Another option is to buy young trees from nurseries. However, the trees will be more expensive, already grafted trees and probably already one or two years old. Nonetheless, this way you can get an instant orchard without the hassle of growing your own.
- Phase your project and plant in stages
Planting a food forest can take place in stages or all at once. However, you’re unlikely to do it all in one go and that’s why I will outline how to plant in stages. This normally involves planting hedges and/or canopy trees in the first year or two, then later shrubs and a ground cover layer. Here is a recommendation from Martin Crawford’s Creating a forest Garden book:
Windbreak/hedges and edges>>Canopy layer including N fixers>>Shrub layer including N fixers>>Perennial/ground cover layer>>annuals, biennial and climbers. However, in the beginning there will be a lot of light and space available, so you can use this for your annual veggie production.
- Finally put your plants in the ground
I won’t go into detail on how you should be planting, for step-by-step details watch the Permaculture Orchard documentary where Stephan explains how to plant a tree in great details.
In short, just make sure you dig a large enough planting hole, spread the roots and sprinkle in mycorrhizal inoculant or dip the roots in a mycorrhizal root dip if required, then refill the hole with the soil you took out.
In almost every instance you should use sheet mulch after planting to control the weeds. Unless the soil is very poor do not add extra materials to it.
Conclusion
Creating a food forest is a multi-stage process and you don’t have to go through all the steps outlined above in the exact order. The idea behind this post is to give you a framework for planning and planting your first trees. Aftercare and maintenance will be a subject for another post.
There are four main books I would recommend if you’re serious about starting a food forest: Edible Forest Gardens, Creating a Forest Garden, Holistic Orchard and Teaming with Microbes – there is plenty of invaluable advice to be found in each.
So, where are you in the whole process of creating a food forest?
Let me know in the comments section below or send me an email.
I’m happy to answer any questions you might have.
Published first on Permaculture Apprentice